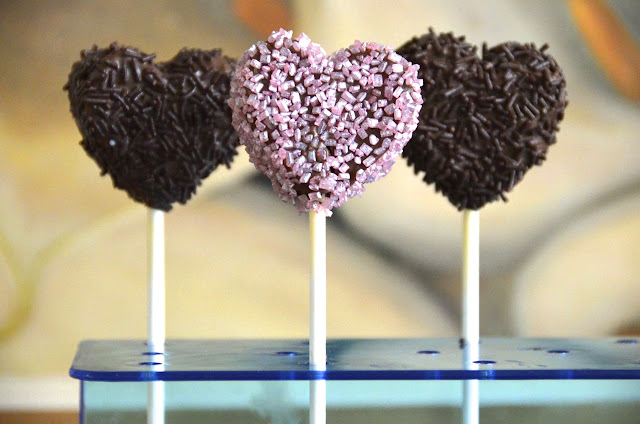
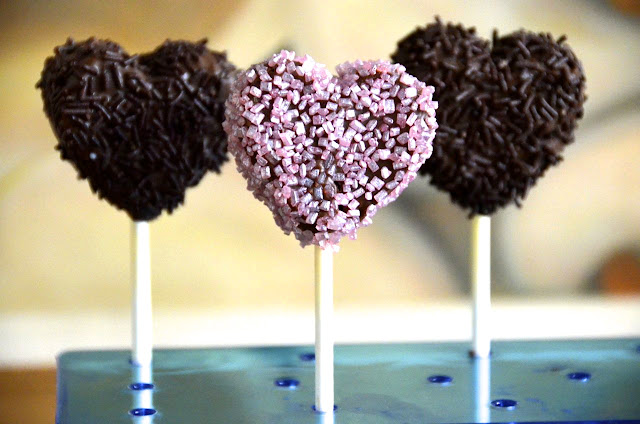
ST. VALENTINE'S CAKE POPS HEARTS
Cake pops - never made them, never tasted them, so didn't really know what to expect. But Valentine's day presented a perfect opportunity to have a go. We now know why they are so popular, they are really soooo nice, not just to look at, but also a scrumptious sweet treat. The crumbled cake, mixed and compressed with the frosting, results in a concentrated, chocolatey pralinee-like sweet, with a rich and moist texture, all held together by a layer of chocolate, and decorated with sparkly sweet and crunchy sugar sprinkles :-)
We did not manage to get hold of the Candy Melts as suggested in the recipe and used melted chocolate instead which worked well after a view mishaps. Lessons learnt (in a very filling way): make sure to cool the pops thoroughly after shaping and after inserting the lollipop sticks, and before dunking them into the chocolate, as they will most certainly crumble and fall off the stick, drown in the chocolate, and then the pieces will have to be rescued one by one and gobbled up... and there are only so many rescue-gobbles you can do as these little things are just immensely calorie-loaded. The classic cake pop has a spherical shape but of course can me made in any form or shape, with different flavours and endless possibilities for decorations... let your fantasy and creativity go wild! Meanwhile I found that Amazon has almost all the recommended ingredients, including the much easier to handle candy melts, paramount crystals, lollipop sticks, and even the little cellophane candy wraps - and tons of colourful sugar sparkles and decorations. Only they are not shipping these (food ingredients) to Belgium. Will need to stock up next time in the UK... ;-)
Inspired by Joy of Baking, Bakerella, Divas can Cook
You will need:
Cake:
There are detailed video instructions for Cake Pops at Joy of Baking, including a vanilla cake and confectionery frosting, but any kind of cake can be used, including Swiss roll, brownies, store-bought cakes, apparently even biscuits, and best of all, cake left overs. We didn't want to spend so much time on the cake itself and ended up buying and baking one of these Dr. Oetker chocolate cake mixes. With the frosting added, this made app. 25 cake pops at 25g per pop - plus the ones we ate as part of quality control ;-)

Frosting (to bind the pops):
115 g (1 cup) icing sugar, sifted
55g (1/4 cup) unsalted butter, room temperature
1/4 tsp vanilla extract
1/2 to 1 Tbsp milk or low-fat cream
- apparently the cake pops can also be made with icing, butter cream, cream cheese frosting, honey, nutella(?), as long as the mixture gets sticky enough to hold a shape and not too sweet to ruin the cake flavour
- Chocolate: make sure not to overheat, as this might thicken the chocolate; also use fresh chocolate, as chocolate stored for a long time apparently tends to get thicker
- If the chocolate is too thick, add a little shortening, coconut fat, or melted unsalted butter (have not tried either!)
- Candy melts: ideal for coating as not only available in many different colours, but it melts into much thinner consistency. I have not used it yet and am not sure if this means the cake pops need to be dunked twice. In any case I'm sure it will be easier to coat the pops with less likelihood of them falling off the stick, as the coating seems less heavy than chocolate; candy melts are available in many colours; or use white and add gel or oil-based food colours to create the colour of your choice;
- Paramount crystals: used to make candy melts more creamy
Decoration:
- Sugar or chocolate sprinkles, sugar crystals, sugar sand, sugar pearls; melted chocolate, grated chocolate, grated coconut, grated and finely chopped nuts, etc...
- Let your fantasy go wild or find inspiration at: Joy of Baking, Bakerella, Divas can Cook
Other Equipment:
- Cake pop stand: I happened to pick up cake pop stand one day, but Styrofoam can be used for this too that is available at craft stores. I found that the holes in my cake pop stand were too close together to fit the hearts, so maybe Styrofoam is a better solution as you can make the holes where you actually need them.
- A jar for the candy coat or melted chocolate: this should be high rather than wide so that the cake pops can be dunked all the way inside.
- Lollipop sticks
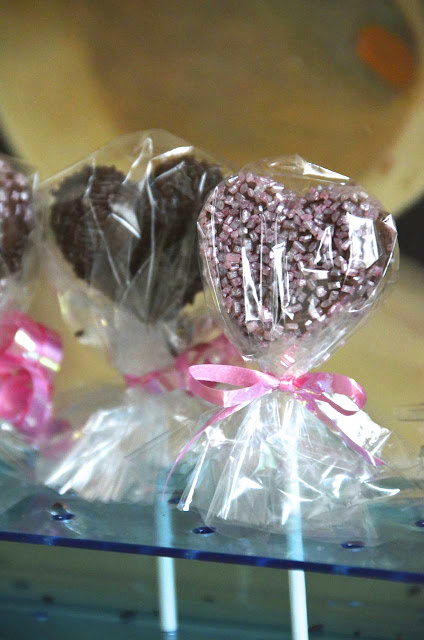
- Small cellophane bags and ribbons to wrap the pops if desired
Method:
1) Prepare the Cake: Bake the cake and leave to cool completely. Remove dark or hard crusts if necessary. Crumble the cooled cake into a large bowl until it resembles fine crumbs.
2) Add the frosting: some cakes are more moist than others and will require more or less frosting to create the right texture for shaping. Work the frosting, a little at a time, into the crumbs with your hands. The mixture should be moist enough to hold the desired shape - squeeze and test with a small amount every so often as you go along - but should not be too moist to be gooey.
3) Make the pops: use a digital scale to measure amounts of equal weight, or a small ice cream scoop to achieve equal sizes. Then roll or shape into the desired shape. Alternatively roll out the dough and cut shapes with a cookie cutter. You can also use cake pop moulds to mould the cake pops into shape. In any case, make sure to tightly roll or shape the cake pops so that they hold together well. Place the ready-rolled or shaped cake pops on a tray lined with parchment paper. Repeat until all the cake mix is used up.
4) Cool the pops: Put the cake pops into the freezer for app. 20 mins (or for several hours, or overnight, into the fridge) or until the pops have hardened.
5) Prepare the ingredients for decorating: slowly melt the chocolate or candy melt in a pot suspended over simmering water (making sure the bottom of the bowl does not touch the hot water). Alternatively melt in the microwave, stirring every 20 seconds to avoid that the chocolate heats up too much and starts to crystallise.
6) Insert lollipop sticks, then freeze: Dip the tip of the lollipop sticks into the melted chocolate then insert them into the cake pops roughly half-way. Freeze for another 20 mins until the chocolate is cold and the pops are safely attached to the sticks.
7) Coat the cake pops: dunk the cooled cake pops one by one into the melted coating. Remove from the coating and, keeping the pop on top of the bowl, let any excess chocolate or coating run off, turning the pop around and/or taping the stick on your finger to shake off excess coating.
8) Decorate: Pour over the sprinkles or decoration while the chocolate is still wet, then place with the lollipop stick inside the Styrofoam block and leave to dry completely.
9) Wrap: Wrap in cellophane candy bags and close with a ribbon to make little presents if desired. Store in an airtight container.


They're sweet
ReplyDeleteRibbons
ReplyDeleteSweet
ReplyDelete